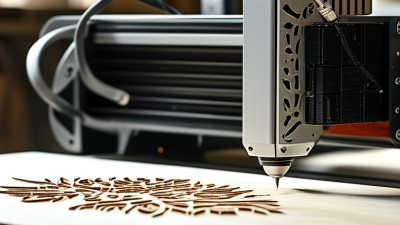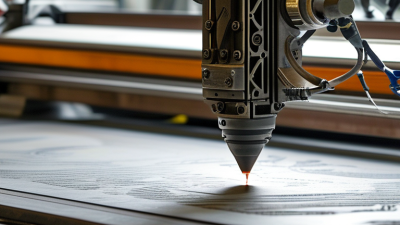
hero image

7 Tips for Choosing the Best Fiber Laser Engraver

Choosing the best fiber laser engraver is rarely about buying the most powerful machine. It is about matching performance, materials, workspace, and long-term support. A reliable model should produce clean marks on metals such as stainless steel, aluminum, brass, and coated surfaces. It should also offer stable software, accurate focusing, and repeatable results. Small details matter. A shaky worktable or unclear interface can waste hours during production.

Real workshop experience shows that advertised speed does not tell the whole story. Test samples can reveal uneven depth, blurred edges, or excessive heat discoloration. Ask suppliers for demonstrations using materials similar to yours. Check the lens options, engraving area, cooling method, warranty, and replacement-part availability. Safety deserves equal attention. Proper shielding, ventilation, protective procedures, and trained operation should be part of the purchasing decision.

Budget matters, but the lowest price may create higher costs later. Maintenance, software limitations, training, and downtime can change the final value. Be honest about your expected workload. A compact machine may suit occasional customization, while a stronger system may support daily commercial use. Even experienced buyers can overlook calibration time. That is worth reconsidering.

These seven practical tips will help you compare specifications with real working needs. They focus on performance, usability, safety, supplier credibility, and future growth. A fiber laser engraver should not merely look impressive in a catalog. It should perform consistently on your workbench.
7 Tips for Choosing the Best Fiber Laser Engraver

Understanding Fiber Laser Engraver Types and Core Functions

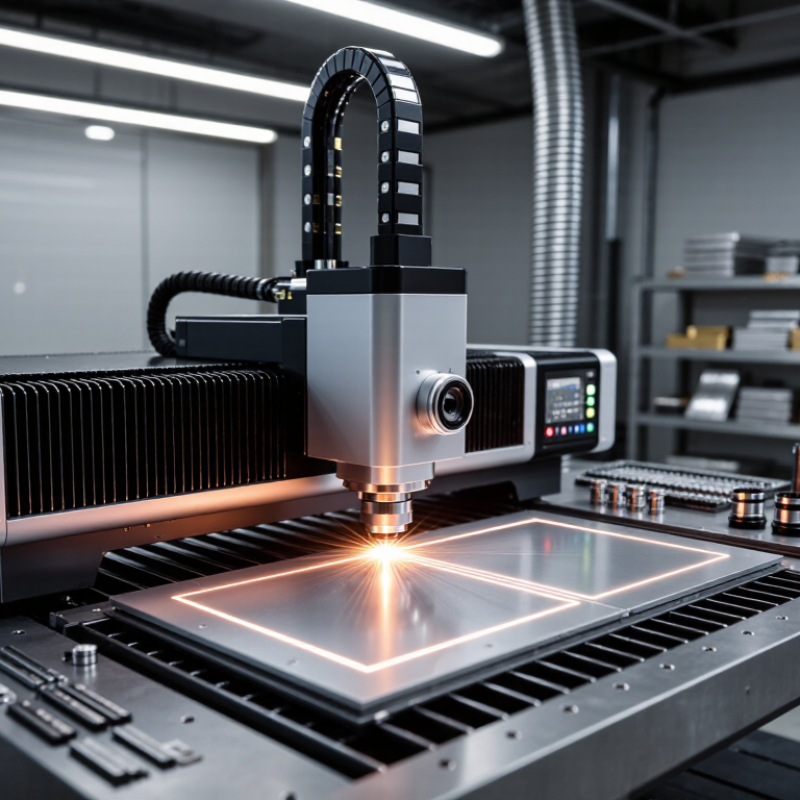
Choosing the right fiber laser engraver starts with its laser source, not its advertised speed. A pulsed fiber laser suits stainless steel, aluminum, brass, and coated metals. A continuous-wave source targets cutting and welding, not detailed marking. MOPA fiber lasers offer adjustable pulse width, helping create dark marks, color effects, and cleaner results on sensitive alloys. The core functions include galvo scanning, variable power control, air cooling, and software-based hatch adjustment. Each feature affects edge quality and production stability.

Industry reports support this growing demand. Grand View Research valued the global fiber laser market at approximately USD 4 billion in 2023 and expects strong growth through 2030. MarketsandMarkets also forecasts rapid expansion, driven by automotive, electronics, and metal fabrication. Estimates differ, so treat market numbers as direction rather than certainty.

Tip: Match wattage to material thickness and daily workload. A 20–30W pulsed unit often handles identification plates and tools, while deeper marking may require 50W or more. Test a small sample first.

Tip: Inspect the lens, field size, and focal distance. A larger work area can reduce detail.

Tip: Ask for measured marking speed, not maximum speed. In practice, power, hatch spacing, material reflectivity, and operator setup change the result.

My own practical caution is simple: software convenience cannot correct poor focus or weak ventilation. Allow time for testing; that step is easy to underestimate.
Defining Material, Marking, and Production Requirements

7 Tips for Choosing the Best Fiber Laser Engraver

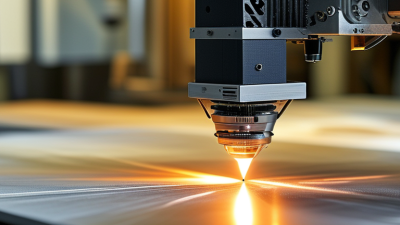
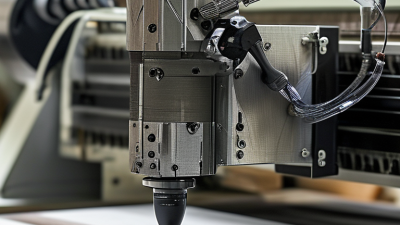
Defining material, marking, and production requirements should guide every purchase. Grand View Research estimates that the global fiber laser market could reach USD 8.5 billion by 2030, with strong growth from industrial processing. This growth hides a practical problem: a machine suited to stainless steel may perform poorly on aluminum, coated parts, or engineered plastics. Identify the exact material, surface finish, part dimensions, and required contrast. Then test real samples, not showroom coupons.

Measure the mark before comparing power ratings. A 20-watt system may suit serial numbers, QR codes, and shallow logos, while deeper engraving may require higher power and slower passes. Define line width, marking depth, readability, and allowable heat discoloration. Production targets matter too. Record cycle time, batch size, fixture changes, software workflow, and operator skill. MarketsandMarkets’ laser marking research identifies rising automation and traceability demand as major market drivers. Still, faster is not always better. Excess heat can damage edges and increase rejection rates.

Check enclosure design, fume extraction, maintenance access, and operator safety against ISO 11553-1 requirements. Confirm the available work area and focal length. Request repeatability data under production conditions. I would also budget for failed tests. That part is easy to underestimate. A small pilot run can reveal reflection, warping, uneven focus, or unreadable marks before a costly commitment.

These indicative maximum working speeds show how material and marking requirements affect fiber laser engraver selection. Actual performance varies with laser power, mark depth, fill density, lens configuration, and required contrast. Use higher-speed equipment for large production volumes, while deeper engraving generally requires slower speeds and higher power.

Comparing Laser Power, Wavelength, and Marking Speed

7 Tips for Choosing the Best Fiber Laser Engraver

Laser power should match the material, thickness, and required cycle time. A 20–30W source often handles serial numbers, QR codes, and shallow marks on steel or aluminum. A 50W or 100W source can remove coatings faster, but excessive power may create burrs or a wider heat-affected area. MarketsandMarkets reported that the global fiber laser market could grow from about USD 7.2 billion in 2024 to USD 12.2 billion by 2029. That growth reflects wider industrial adoption, not automatic productivity.

Wavelength deserves careful attention. Most metal-marking fiber systems operate near 1,064 nanometers, where common metals absorb energy effectively. Plastics, painted surfaces, and heat-sensitive parts may respond better to shorter wavelengths, depending on additives and color. Never choose by wavelength alone. Test the exact material, because two black plastics can react very differently. Marking speed also needs context. A scanner rated at 7,000–12,000 millimeters per second may slow sharply with dense hatch patterns, deep engraving, or small fonts. The real comparison is completed parts per hour.

Use a sample part.

Measure contrast, edge sharpness, depth, and cycle time. ISO 11553-1 identifies laser-processing safety requirements, so enclosure design and interlocks deserve equal scrutiny. I once underestimated fixturing; the laser was fast, but inconsistent positioning ruined the throughput. That mistake remains useful. A reliable purchase decision combines power, wavelength, pulse settings, lens size, and repeatable testing.

7 Tips for Choosing the Best Fiber Laser Engraver - Comparing Laser Power, Wavelength, and Marking Speed
Tip Decision Dimension Practical Comparison Typical Technical Range Best-Fit Applications Selection Guidance
1 Match Laser Power to the Material Higher power generally increases processing capacity and can support deeper marking, but it may add cost and can increase the risk of heat-affected edges on delicate parts. 20–30 W: fine marking and light engraving
50–60 W: general industrial marking and deeper engraving
100 W or more: high-throughput or deeper material removal
Metal nameplates, tools, machine parts, stainless steel components, aluminum, brass, copper, and some coated materials Choose the lowest power that meets the required depth and production volume. This can reduce purchase cost, energy use, and unnecessary thermal exposure.
2 Check the Wavelength Standard fiber systems commonly use near-infrared light at approximately 1,064–1,070 nm. Wavelength affects how efficiently different materials absorb the laser energy. Standard fiber wavelength: approximately 1,064–1,070 nm
Shorter-wavelength alternatives: often used when improved absorption or reduced thermal impact is needed
Standard near-infrared fiber systems are well suited to steel, stainless steel, aluminum, brass, copper, and many industrial coatings. Confirm material compatibility with sample testing, especially for highly reflective metals, plastics, and heat-sensitive surfaces.
3 Compare Marking Speed with Real Throughput Scanner speed is only one part of production performance. Hatch spacing, fill density, pulse settings, focus adjustment, graphics complexity, and loading time also affect cycle time. Many industrial galvo fiber systems specify maximum scan speeds around 6,000–12,000 mm/s; actual marking speed is often lower. Serial numbers, barcodes, logos, text, dates, and repeated batch marking Request a timed sample using the exact artwork, material, marking size, and required contrast. Compare completed parts per hour rather than the advertised scan speed alone.
4 Select the Right Marking Area and Lens A larger field lens covers more area but normally produces a larger focused spot and may reduce fine-detail capability. A smaller field can improve detail and energy density. Common field sizes include approximately 70 × 70 mm, 110 × 110 mm, 175 × 175 mm, and 300 × 300 mm. Small precision parts, medium industrial components, large panels, and parts requiring multiple placements Select a field that fits the largest required design with minimal repositioning, while preserving the resolution needed for text, codes, or fine graphics.
5 Evaluate Pulse and Frequency Control Pulse duration, repetition frequency, and pulse energy influence contrast, depth, edge quality, and heat input. Flexible control is valuable when processing different materials. Many pulsed fiber sources offer adjustable repetition rates from approximately 20–100 kHz, with some models supporting wider ranges. Annealing stainless steel, surface engraving, deep engraving, color-sensitive marking, and high-contrast identification marks Look for independently adjustable speed, power, frequency, and hatch settings. Use lower heat input for thin or heat-sensitive components.
6 Verify Accuracy, Focus, and Repeatability Clear focusing aids, stable beam delivery, reliable galvanometer control, and repeatable positioning help maintain consistent mark quality. Common practical features include a visible red-light preview, adjustable focus support, software correction, and repeatable positioning suitable for fixture-based production. Small fonts, 2D codes, serialized parts, precision components, and production lines requiring consistent placement Test minimum readable text, barcode quality, line sharpness, and position repeatability across multiple parts—not just a single sample.
7 Consider Safety, Software, and Serviceability A suitable machine should provide appropriate laser protection, dependable controls, practical software, and accessible maintenance support. Enclosed Class 1 systems are commonly preferred for production environments. Open systems require controlled access, suitable protective eyewear, and workplace laser-safety procedures. Workshops, factories, laboratories, contract marking services, and unattended or semi-automated production cells Check interlocks, emergency-stop functions, fume extraction provisions, file compatibility, fixture integration, training, warranty terms, and replacement-part availability.
Practical buying rule: Compare machines using the same material, artwork, marking area, required depth, contrast target, and production quantity. A controlled sample test is more reliable than comparing power or maximum scan speed alone.

Evaluating Work Area, Software, and Operational Features

Tip 1: Match the work area to your real materials. A 110 × 110 mm field suits small tags and serial plates. Larger areas reduce repositioning, but they can weaken fine detail. A 2024 Grand View Research report valued the global fiber laser market at approximately USD 5.5 billion in 2023. That growth reflects wider industrial use, not automatic suitability for every workshop. Measure your largest parts first.

Tip 2: Test the software before purchasing. Look for clear parameter libraries, hatch control, preview tools, and common file support. Good software should show the marked boundary before the laser starts. It should also save repeatable settings for steel, aluminum, and coated surfaces. In production trials, confusing interfaces often create more waste than limited engraving speed. This is easy to underestimate.

Tip 3: Examine operational features closely. Autofocus, rotary compatibility, emergency stopping, fume extraction, and enclosure visibility improve daily control. The machine should offer stable power adjustment and readable status feedback. Research from the International Organization for Standardization emphasizes risk assessment and safeguarding around laser equipment. Treat those features as working requirements, not decorative extras.

Ask for a live demonstration. Watch setup time, alignment, file import, and recovery after an interrupted job. A specification sheet cannot reveal awkward software or poor cable placement. I would also inspect service access and training materials. The perfect configuration rarely exists. Your material mix may change within a year. Choose flexible controls, then verify them with actual parts.

Checking Safety Systems, Maintenance Needs, and Total Cost

7 Tips for Choosing the Best Fiber Laser Engraver

Checking Safety Systems, Maintenance Needs, and Total Cost

A safe fiber laser engraver should have a fully enclosed work area, door interlocks, and a visible emergency stop. Check whether the interlock stops emission immediately when the door opens. The viewing window should match the laser wavelength. Fume extraction also matters, especially when marking coated metals or painted surfaces. Ask for documented safety testing, user training, and compliance with local electrical and laser regulations. Do not rely on attractive product photos alone.

Maintenance requirements can determine your real production speed. Inspect the protective lens, focusing head, guide rails, and cooling system before purchase. A clean lens prevents weak marks and uneven energy distribution. Keep replacement lenses and filters available. I once underestimated cleaning time, and short daily tasks became a noticeable weekly delay. Service access should be simple, with clear instructions and realistic replacement intervals. A qualified technician should be available for alignment or electrical faults.

Calculate total cost beyond the machine price. Include installation, ventilation, software, power use, spare parts, training, and downtime. Compare warranty coverage carefully. A low-cost unit may become expensive when one unavailable part stops production. Record expected marking hours and consumable usage for one year. Then test sample materials before committing. Some machines mark stainless steel quickly but need slower settings on aluminum or coated surfaces. That difference affects labor, output, and profit. Be honest about your workload; buying excessive power can waste money, while choosing too little can create frustrating delays.