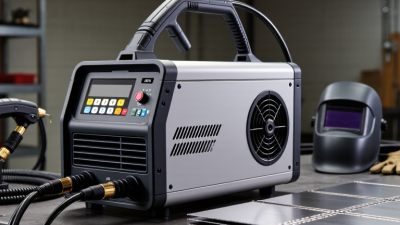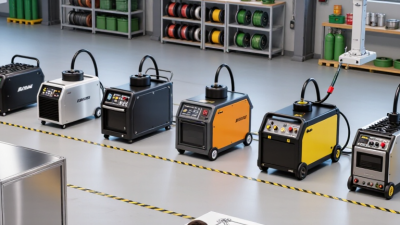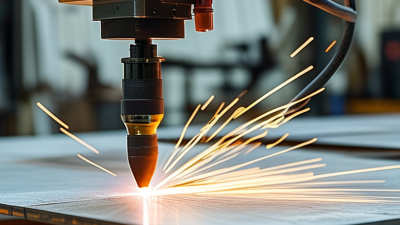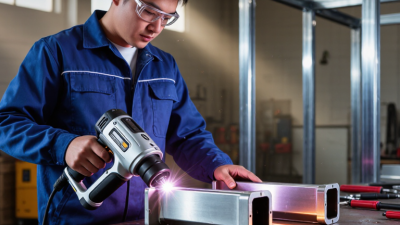


Choosing a handheld laser welding machine is not a wattage contest. It is a process decision. The right unit must suit your materials, joint geometry, duty cycle, and operators’ experience. A thin stainless-steel panel, for example, needs different settings from a thick carbon-steel bracket. Poor fit can mean spatter, inconsistent penetration, or costly rework. Small details matter.
Industry data offers useful context, but not a shortcut. The International Federation of Robotics reported 541,302 industrial robot installations worldwide in 2023, showing continued investment in production automation. That figure covers industrial robots, not handheld laser welders. It does, however, underline why manufacturers compare productivity, repeatability, and workforce needs when evaluating equipment. For welding quality, ISO 13919-1 provides guidance on imperfection levels in electron and laser-beam welded joints. Buyers should also review the machine maker’s documented safety features, service terms, and material-specific test results.
Professor Peter Kah of the University of Oulu has published research on laser welding and joining processes. A fair takeaway from this work is that process parameters and material behavior must be considered together. In practice, that means asking suppliers to demonstrate the machine on your actual material and joint—not just a polished sample. Look closely at the bead, heat tint, and back-side penetration. Then compare the results under realistic production conditions.
The following seven tips focus on those checks. They help buyers assess power, beam control, cooling, safety, support, and total operating cost. No brochure can replace a hands-on trial.
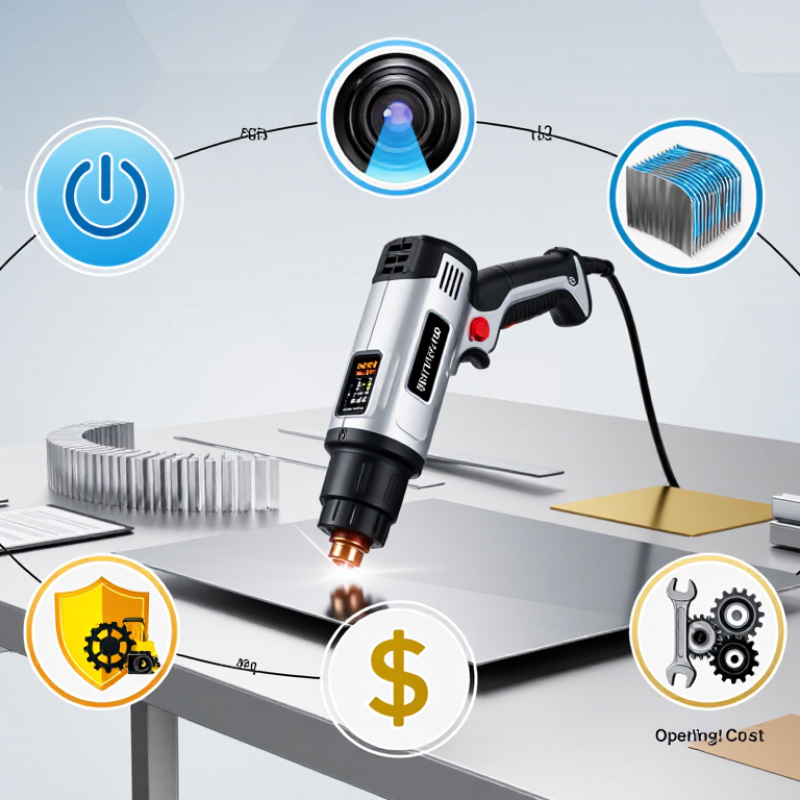
A handheld laser welder sends light from a laser source through a delivery fiber to a gun. Optics inside the gun focus the beam onto the joint. The metal absorbs this energy and forms a small molten pool. At higher power densities, vapor pressure can create a narrow keyhole, allowing deeper penetration. The Laser Institute of America’s Handbook of Laser Materials Processing places keyhole formation around 10⁶ watts per square centimetre. That distinction matters: lower-energy welding may melt the surface without forming a keyhole. Beam power, travel speed, focus position, and material thickness all affect the result.
The operator guides the gun along the seam while shielding gas helps limit oxidation and contamination. Some machines also support filler wire or beam wobble, which can help bridge gaps or widen the weld. More options are not automatically better. Before choosing a machine, test it on the actual metal thickness and joint shape; a bright bead can still hide poor penetration. Watch the pool, listen for an unstable arc-like crackle, and inspect the reverse side where possible. I would not rely on a single sample: small changes in fit-up can alter the weld. Ask for recorded settings and repeatable test results.
| Tip | What to Check | Why It Matters | Practical Question |
|---|---|---|---|
| 1. Understand the laser source | Many handheld welding systems use fiber lasers, commonly operating near a 1 μm wavelength. Check the rated output power, operating mode, and duty-cycle specifications. | Laser output and process settings affect weld penetration, speed, and the range of suitable material thicknesses. Actual results depend on the joint, material, and setup. | Are the stated power and performance specifications supported by a test weld on my material and joint design? |
| 2. Match the machine to your materials | Confirm compatibility with the specific alloy and thickness you plan to weld, such as stainless steel, carbon steel, or aluminum. Ask about surface condition and joint-fit requirements. | Different metals absorb laser energy differently, and reflectivity, thickness, coatings, and joint gaps can affect process stability and weld quality. | Can the supplier demonstrate a consistent weld using my exact material, thickness, and joint configuration? |
| 3. Check the welding head and controls | Review the welding-head weight, cable or fiber length, trigger and interlock design, available beam patterns, and how power and wire-feed settings are adjusted. | Ergonomics and accessible controls can affect operator fatigue and consistency during repeated or long welds. | Can operators comfortably reach the work area and adjust settings without compromising safe handling? |
| 4. Evaluate shielding gas and wire feeding | Confirm the recommended shielding gas for each material and whether the process uses filler wire. Check the wire-feeder range and consumable availability if applicable. | Shielding gas helps protect the molten weld pool from atmospheric contamination. Gas choice and filler requirements depend on the material and procedure. | What gas, flow setup, and filler-wire specifications are recommended for each intended application? |
| 5. Examine cooling and duty cycle | Check whether the system is air-cooled or water-cooled, its specified ambient operating range, maintenance needs, and rated duty cycle. | Cooling helps control heat in the laser source and other components. Operating beyond specified conditions may cause interruptions or equipment damage. | Can the cooling system support the planned production schedule in the actual workshop environment? |
| 6. Plan laser and fume safety | Review the machine’s laser classification and safety documentation, interlocks, emergency stop, required wavelength-rated protective eyewear, and fume-extraction provisions. | High-power welding lasers can cause severe eye and skin injuries, including from reflected beams. Welding fumes also require appropriate risk assessment and control. | Can the work area be engineered and operated according to applicable laser-safety and occupational-health requirements? |
| 7. Compare service, training, and total cost | Include installation, operator training, maintenance, consumables, warranty terms, repair support, and any required safety equipment in the comparison. | Purchase price alone does not reflect the full cost of ownership or the support needed to maintain safe, reliable operation. | Are training, spare parts, service response, and ongoing operating costs clearly documented before purchase? |