1101 W. Sanilac Rd. Caro, MI 48723
989.673.6690
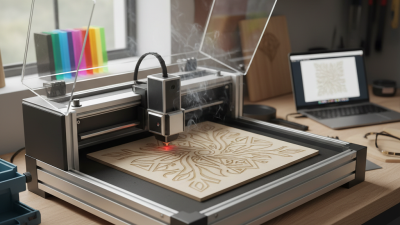
A glass etching machine transforms a smooth glass surface into a controlled pattern, mark, or texture. It may use abrasive blasting, diamond tools, chemical-free laser energy, or CNC-guided engraving. The machine’s purpose is simple. Its operation is not.
According to Grand View Research’s Glass Market Size, Share & Trends Analysis Report, the global glass market was valued at approximately USD 162.5 billion in 2022. The report also projects continued growth through 2030, supported by construction, automotive, and specialty glass applications. This expansion increases demand for repeatable decoration, identification, and surface treatment. A glass etching machine can support these needs by combining digital designs, controlled movement, and carefully measured processing power.
The process usually begins with a vector file or programmed pattern. The glass is cleaned, positioned, and secured on a stable worktable. A laser head or abrasive nozzle then follows the selected path. Microscopic surface changes create a frosted appearance or a precise engraved line. Depth depends on energy, speed, pressure, glass composition, and operator settings.
Small adjustments matter.
The U.S. Department of Energy’s Industrial Decarbonization Roadmap identifies process heat and energy efficiency as important industrial challenges. Efficient machine control may reduce rework, material waste, and unnecessary processing time. However, performance claims require testing. Different glass types can react unevenly, especially near edges, coatings, and curved surfaces. That limitation is often overlooked. Understanding how a glass etching machine works helps buyers compare technologies realistically, select safer workflows, and avoid treating impressive specifications as guaranteed results.
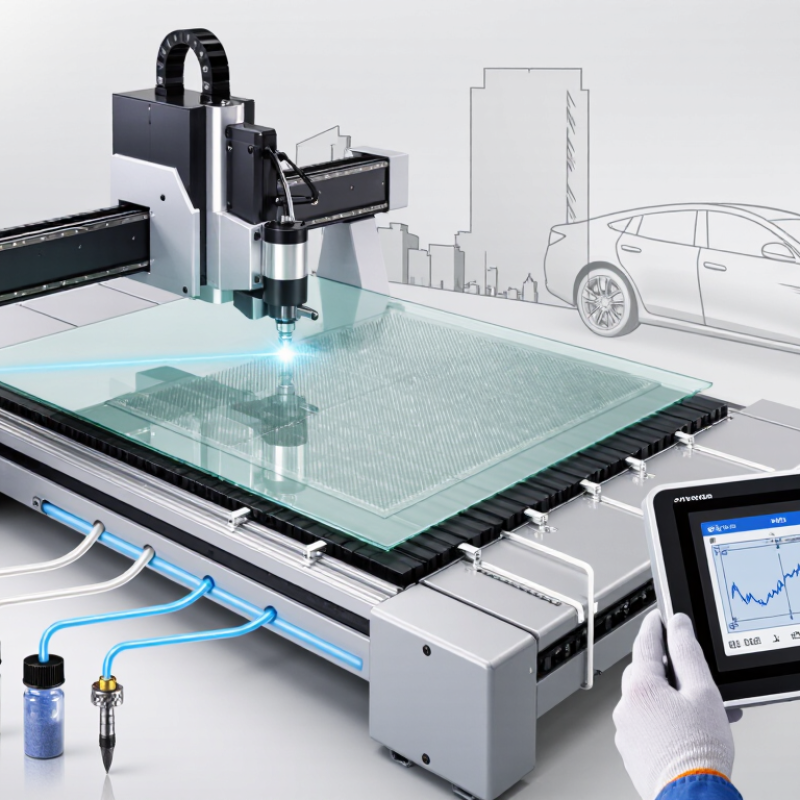
A glass etching machine removes or modifies a glass surface to create controlled marks, patterns, or depth. Most systems use laser energy, abrasive blasting, or a rotary diamond tool. The process changes surface geometry through heat, impact, or abrasion. The surface still matters.
Laser machines suit detailed logos, serial numbers, and decorative frosting. CO2 lasers usually operate near 10.6 micrometres. They work well on many non-metallic materials. UV lasers near 355 nanometres can limit heat exposure on delicate glass. Abrasive systems use compressed air and fine media, producing a softer matte finish. Rotary machines create deeper, tactile engraving, but they need greater operator control. Core specifications include working area, positional accuracy, laser power, pulse frequency, air pressure, dust extraction, cooling, and supported glass thickness. Grand View Research valued the global glass market at USD 156.5 billion in 2023. This scale supports demand for repeatable processing in construction, automotive, and tableware. Report definitions can differ.
Tips: Test the exact glass batch first. Coatings, tempering, and thickness may change the result. Measure twice. Calibrate focus carefully, and follow ISO 11553-1 for laser-processing safety. In practice, the first setting is rarely perfect. That is easy to underestimate. Record each trial, inspect edge quality, and adjust gradually rather than chasing maximum power.
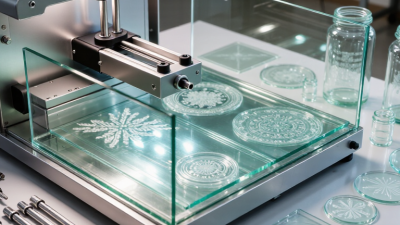
A glass etching machine changes the surface by removing or roughening a controlled layer of glass. The chosen method depends on finish, depth, speed, and production volume. The European Commission’s Best Available Techniques Reference Document for Glass Manufacturing identifies glass production as an energy-intensive process, so efficient surface processing matters. In practice, a clean, dry panel is essential. Tiny fingerprints can scatter a laser beam or weaken chemical coverage.
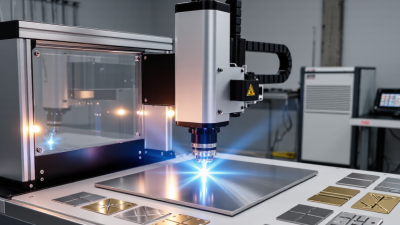
Laser etching uses focused heat to create microfractures or controlled surface marks. It is contactless, repeatable, and suitable for fine graphics, serial numbers, and textured patterns. The laser wavelength, pulse duration, and scanning speed affect edge quality. ISO 11553-1 provides safety requirements for laser processing machines, including guarding and access control. A practical problem remains: excessive heat may create halos, cracks, or uneven brightness. The neatest digital design can still look poor on real glass.
Abrasive etching directs mineral particles through a nozzle, producing a frosted surface through mechanical impact. It creates strong tactile contrast, but dust control and nozzle consistency influence results. Chemical etching uses acidic formulations to dissolve the exposed surface, often producing smooth, satin-like finishes. The European Chemicals Agency emphasizes strict control of hazardous chemical exposure and workplace ventilation. Chemical depth can vary with temperature, concentration, and dwell time. Operators should test small samples first, because glass composition is not always uniform. Industry reports from Smithers on decorative glass also indicate continued demand for customized surface finishes, although automated equipment does not remove the need for skilled inspection.
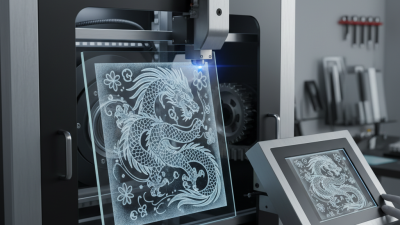
A glass etching machine directs a focused laser across the surface, removing or roughening microscopic areas. The result can look frosted, white, or lightly textured. Its performance depends heavily on wavelength, focus, pulse behavior, and resolution.
A 355 nm ultraviolet laser offers a small heat-affected zone and precise detail. It suits delicate graphics, thin lines, and sensitive glass surfaces. A 1,064 nm laser can mark glass, but it often needs a coating or special treatment for strong contrast. The 10.6 µm CO₂ wavelength is absorbed efficiently by glass. It creates visible frosting through controlled thermal action. However, excessive power may produce chips, cracks, or uneven haze.
DPI means dots per inch. A setting between 300 and 1,200 DPI controls dot spacing and image density. Around 300–600 DPI can provide clean lettering with moderate processing time. Higher values improve tonal smoothness, but they also increase heat buildup and production time. More DPI is not always better.
The first setting is rarely right. I recommend testing small samples before touching finished glass. Adjust speed, power, focus, frequency, and pass count together. Keep the glass clean and firmly supported. A slightly defocused beam may soften edges, yet too much defocus weakens detail. This balance is easy to underestimate. Temperature changes, glass thickness, and surface coatings can also alter results. Record each test, even the unsuccessful ones. Those records often prevent expensive repetition.
A glass etching machine creates controlled marks on glass by removing or altering its surface. The process may use a focused laser beam or a fine abrasive stream. Each method needs different settings. Before starting, clean the glass and inspect it for chips, scratches, or internal stress. A damaged piece can break during processing.
Design preparation begins with a simple vector drawing. Convert text into outlines, check its size, and leave enough space around fine details. Place the artwork on the correct surface. A small alignment error can shift the entire design. That part matters. Secure the glass on a level worktable, then set the machine’s origin point. In practice, I test complicated artwork on scrap glass first. The first pass is not always perfect.
Focusing determines how sharply the machine transfers the design. Adjust the focal distance according to the glass thickness and machine instructions. Run a low-power test when possible. Watch the mark, heat, and edge quality. Excessive power may create rough borders or unwanted cracks. Etching then follows the prepared path at a controlled speed. Afterward, remove dust with a soft brush or clean air. Wipe the surface using a lint-free cloth and a suitable glass cleaner. Avoid pressing residue into the etched lines. Hold the finished piece under angled light. It reveals missed areas clearly.
| Step | Workflow Stage | Main Purpose | Key Materials or Inputs | Typical Operating Data | Expected Result | Quality and Safety Checks |
|---|---|---|---|---|---|---|
| 1 | Design Preparation | Convert the artwork into a format and layout that the etching machine can process accurately. | Vector artwork, raster image, design software, glass dimensions, work-area measurements | Vector formats are preferred for line art and text. Common production artwork is prepared at 300 dpi or higher when a raster image is required. Text is converted to outlines to avoid font substitution. | A correctly scaled, mirrored or non-mirrored design positioned within the usable work area. | Check final dimensions, line thickness, image orientation, engraving location, and whether the artwork contains unwanted open paths or low-resolution images. |
| 2 | Glass Inspection and Cleaning | Remove contaminants and identify defects that could affect the etched pattern or cause breakage. | Glass workpiece, lint-free cloth, glass cleaner or isopropyl alcohol, nitrile gloves | The surface should be free of oil, dust, labels, fingerprints, and moisture before processing. Flat, clean glass generally produces more consistent results than contaminated or heavily scratched glass. | A clean, dry, stable workpiece with the intended etching surface clearly identified. | Inspect for chips, cracks, deep scratches, and internal stress. Do not process visibly damaged glass. Wear cut-resistant gloves when handling sharp edges. |
| 3 | Workpiece Positioning | Keep the glass stable and align the design with the desired engraving position. | Machine bed, alignment guides, non-abrasive supports, leveling materials | The glass should rest on stable supports without point loading. Leave sufficient clearance around the artwork and ensure that curved glass is supported according to the machine's design. | The workpiece remains stationary and the design origin matches the programmed origin. | Confirm that clamps or supports will not enter the tool path or obstruct laser, abrasive, or airflow components. |
| 4 | Focusing and Calibration | Set the correct working distance and verify that the machine is aligned with the glass surface. | Focus gauge or autofocus system, test grid, calibration pattern, height adjustment | The focal position is set according to the machine optics and material surface. For curved or uneven glass, focus may vary across the work area; a test pattern is recommended before production. | A sharply defined test mark with the intended position and scale. | Check the focal point, bed level, axis movement, and origin position. Never bypass enclosure interlocks or view an active laser beam directly. |
| 5 | Parameter Selection | Choose process settings that create a frosted surface without excessive thermal or mechanical stress. | Machine control software, material test chart, glass type and thickness | Important variables include power, speed, pulse frequency, resolution, scan direction, number of passes, abrasive pressure, nozzle distance, and media particle size. Exact settings vary by machine, glass composition, thickness, and desired contrast. | A repeatable process recipe suitable for the specific glass sample. | Run a small test area first. Avoid assuming that settings for one glass type will produce the same result on another type. |
| 6 | Etching | Modify the glass surface to form a permanent frosted, textured, or matte design. | Laser etching system or abrasive-etching system, ventilation, approved process media | Laser systems remove or alter a very shallow surface layer through controlled energy. Abrasive systems use propelled fine abrasive media to mechanically roughen the surface. Processing time depends on design area, resolution, passes, and machine speed. | A visible, permanent pattern with the required opacity, texture, and edge definition. | Monitor for uneven shading, chips, excessive heat, cracks, distortion, or incomplete areas. Use the machine enclosure, extraction, and protective equipment specified for the process. |
| 7 | Surface Cleaning | Remove loose glass particles, abrasive residue, dust, and handling marks after etching. | Compressed air with suitable filtration, soft brush, lint-free cloth, clean water, mild detergent or glass cleaner | Cleaning should be gentle enough to avoid scratching the newly textured area. Use local extraction or wet-cleaning methods where required to control fine particulate. | A clean surface with clear contrast between etched and unetched areas. | Do not use contaminated cloths or excessive pressure. Dispose of abrasive and glass residues according to applicable workplace and environmental requirements. |
| 8 | Inspection and Measurement | Confirm that the finished piece meets visual, dimensional, and functional requirements. | Reference drawing, ruler or caliper, magnifier, lighting, inspection checklist | Inspect design position, overall dimensions, line continuity, contrast, edge quality, surface uniformity, and damage. Compare the result with an approved sample or specification. | A finished glass component that matches the approved design and acceptance criteria. | Reject or rework pieces with cracks, chips, missing details, severe banding, incorrect positioning, or unacceptable surface contamination. |
| 9 | Packaging and Storage | Protect the etched surface and glass edges during handling, transport, and storage. | Protective paper or film, edge guards, separators, rigid packaging, dry storage area | Store pieces vertically or in the orientation recommended for their size and geometry, using separators that prevent glass-to-glass contact. | The etched finish remains clean and the glass arrives without scratches, chips, or breakage. | Label fragile packages, keep surfaces dry, avoid stacking beyond the packaging design limit, and handle large sheets with suitable lifting equipment. |
A glass etching machine creates patterns by removing a controlled layer from the surface. It may use a focused beam, abrasive stream, or mechanical cutting head. The selected method affects edge quality, heat exposure, and maintenance needs. Operators should test sample glass first. Small differences in thickness can change the result.
Resolution describes the smallest detail the machine can reproduce. Fine lettering often needs stable movement and accurate focus. Resolution alone does not guarantee clean edges. Throughput measures how many pieces the system processes within a set period. A useful test includes loading time, etching time, cleaning, and inspection. Fast production is less valuable when rejected pieces increase.
Depth control affects texture, contrast, and structural safety. Excessive removal can create weak areas or uneven reflections. Measuring depth with a calibrated gauge improves consistency. Fume extraction is equally important, especially when coatings or residues are removed. An enclosed work area, effective filtration, and airflow monitoring help reduce airborne particles. Interlocks should stop operation when covers open. They should be tested regularly.
A bright sample can still hide defects. That is why repeat testing matters. My practical preference is to record resolution, cycle time, depth variation, and filter condition for every trial. This record reveals problems that appearance alone may miss. Even careful settings need review when materials change.