


Welding 304 Stainless Steel looks straightforward, but small process errors can create distortion, discoloration, or hidden corrosion risks. This guide presents ten practical tips for producing cleaner, stronger, and more consistent welds. It focuses on preparation, heat control, shielding gas, filler selection, and post-weld cleaning.
John C. Lippold, a respected welding metallurgy expert, emphasizes that “the welding process must be selected with the material’s metallurgy in mind.” That principle matters with 304 stainless steel. Excessive heat can enlarge the heat-affected zone and encourage sensitization. Poor shielding can leave black oxidation around the bead. Contaminated brushes can also transfer iron onto the surface.
Cleanliness comes first. Use dedicated stainless steel brushes, acetone, lint-free cloths, and sharp tools. Keep carbon-steel equipment away from the joint. Check the fit-up before striking an arc. A narrow, even gap usually supports better penetration. Use short welds when distortion becomes visible. Let the workpiece cool naturally.
The ten tips will address joint preparation, TIG and MIG settings, travel speed, amperage, shielding gas coverage, filler metals, and heat input. They will also explain why back purging can protect the root on critical joints. These details sound basic. They are often neglected.
The reality is less tidy. Even experienced fabricators occasionally overheat a thin panel or trust a dirty gas nozzle. I have learned that a beautiful bead is not enough. Inspect the root, clean the oxide, and question the result. A weld can look perfect and still deserve another check.
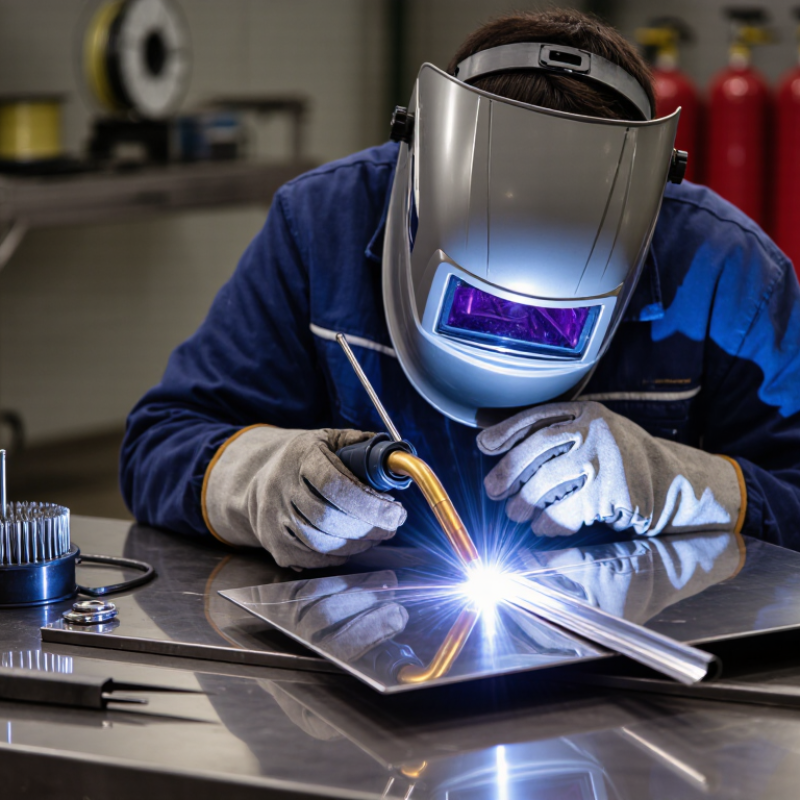
Welding 304 stainless steel starts with its metallurgy. It is an austenitic alloy with low thermal conductivity and high thermal expansion. Heat stays near the arc, while the surrounding sheet moves noticeably. This creates distortion, warping, and uneven penetration. Clean the joint with stainless-only tools, remove oil, and keep carbon-steel dust away. Even small contamination can leave rusty-looking spots later.
Use a short arc and controlled travel speed. Excessive heat increases oxidation and may reduce corrosion resistance. A suitable low-carbon filler, such as 308L-type material, commonly matches 304 applications. Maintain stable shielding gas coverage, especially at the weld start and stop. For full-penetration joints, back purging protects the root from heavy oxidation. It is easy to overlook the backside. That mistake can weaken the finished joint.
Keep interpass temperatures moderate and use tack welds to control movement. Alternating weld locations often reduces distortion better than adding more force during clamping. Inspect the bead for undercut, porosity, dark heat tint, and incomplete fusion. Light discoloration may be acceptable in some service conditions, but heavy tint deserves cleaning and review. Pickling or mechanical cleaning must suit the application and safety requirements. My own imperfect habit is rushing the final inspection. A slower check often reveals poor fit-up, contaminated tools, or a hidden root problem.
| No. | Welding Tip | Key Dimension or Parameter | Recommended Practice | Technical Reason |
|---|---|---|---|---|
| 1 | Select a compatible filler metal | Common filler: 308L or 308LSi | Use a low-carbon 308-series filler for most 304 stainless steel joints. Follow the applicable welding procedure and filler classification for the service conditions. | The filler composition is designed to provide compatible corrosion resistance and weld performance with austenitic 304 stainless steel while reducing the risk of weld-metal sensitization. |
| 2 | Keep the joint and filler clean | Use dedicated stainless-steel tools | Remove oil, moisture, paint, oxides, and marking residues. Use stainless-steel-only brushes and abrasives that have not contacted carbon steel. | Iron contamination can create surface rust and reduce the appearance and corrosion resistance of the finished weld. |
| 3 | Control heat input | Use the approved WPS range | Use the lowest practical current, voltage, and arc length that provide complete fusion. Maintain a steady travel speed and avoid excessive weaving. | Excessive heat increases distortion, discoloration, grain growth, and the time spent in the temperature range associated with chromium-carbide precipitation. |
| 4 | Limit interpass temperature | Common control target: below 150°C (302°F) | Allow the joint to cool between passes and verify the temperature with a suitable temperature indicator or contact thermometer when required by the procedure. | Lower interpass temperatures help reduce cumulative heat buildup, distortion, and the potential loss of corrosion resistance in the heat-affected zone. |
| 5 | Use suitable shielding gas | GTAW: typically 100% argon; GMAW: argon-rich mixtures | Use clean, dry shielding gas and set the flow according to torch design, nozzle size, joint access, and the approved welding procedure. Avoid excessive flow that can cause turbulence. | Stable shielding prevents atmospheric oxygen and nitrogen from contaminating the molten weld pool and helps reduce porosity, oxidation, and loss of weld quality. |
| 6 | Back-purge open-root joints | Use inert gas on the reverse side | For full-penetration pipe, tube, and sheet joints, purge the root with an inert gas until adequate protection is established before welding and maintain it through root completion. | Back purging prevents heavy root oxidation, commonly called sugaring, which can restrict flow and severely reduce corrosion resistance. |
| 7 | Maintain proper fit-up | Follow the joint-design tolerances | Keep root gap, alignment, bevel angle, and land consistent with the approved joint design. Avoid forcing parts together, especially on thin sections. | Consistent fit-up reduces the need for excessive filler, prevents burn-through or lack of fusion, and helps control weld distortion. |
| 8 | Use controlled welding technique | Short arc; steady travel; minimal weave | Maintain a consistent torch or gun angle, keep the arc length short, and use stringer beads where practical. Use skip welding or balanced sequencing on distortion-sensitive assemblies. | Controlled bead placement improves shielding, limits heat concentration, and produces more uniform penetration and bead shape. |
| 9 | Manage distortion and discoloration | Use fixtures and balanced weld sequencing | Use adequate but non-contaminating fixturing, tack welds, balanced sequencing, and heat sinks when appropriate. Do not use carbon-steel clamps or tools directly on the stainless surface. | Austenitic stainless steel expands more and conducts heat less efficiently than carbon steel, making it more susceptible to distortion and heat tint. |
| 10 | Clean and restore the surface | Remove slag, spatter, and heat tint | After welding, remove discoloration and residues using suitable mechanical or chemical cleaning methods. When corrosion performance is critical, use an approved pickling and passivation process. | Heat tint and embedded contaminants can reduce the chromium-rich passive layer and create preferential sites for corrosion initiation. |


