What Is the Best Belt Measuring Tool in 2026?
Choosing the best Belt Measuring Tool in 2026 starts with a simple question: what kind of belt are you measuring? A flexible tape may suit a leather belt, while a circumference gauge or dedicated length-measuring device is better for many drive belts. The wrong method can produce a confident-looking number that still leads to a poor fit. Small differences matter.
For power-transmission applications, ISO 4184 specifies belt lengths and measurement-related conventions for classical and narrow V-belts. That makes it a useful reference when comparing tools and checking whether a product’s readings match the belt type. NIST Technical Note 1297 also explains how measurement uncertainty should be evaluated and reported. Its central lesson applies here: a reading is only useful when the method and its limits are understood.
Real workshop conditions complicate the choice. Belt tension, wear, temperature, and how the belt is positioned can all affect a measurement. A tool that feels precise on a clean bench may be less practical beside a dusty machine. I would compare repeatability, supported belt profiles, scale readability, and ease of use—not just the largest number on a product page. There is no universal winner. The best choice depends on the belt, the measuring procedure, and how much error the job can tolerate. Even careful measurements deserve a second check.
What a Belt Measuring Tool Measures
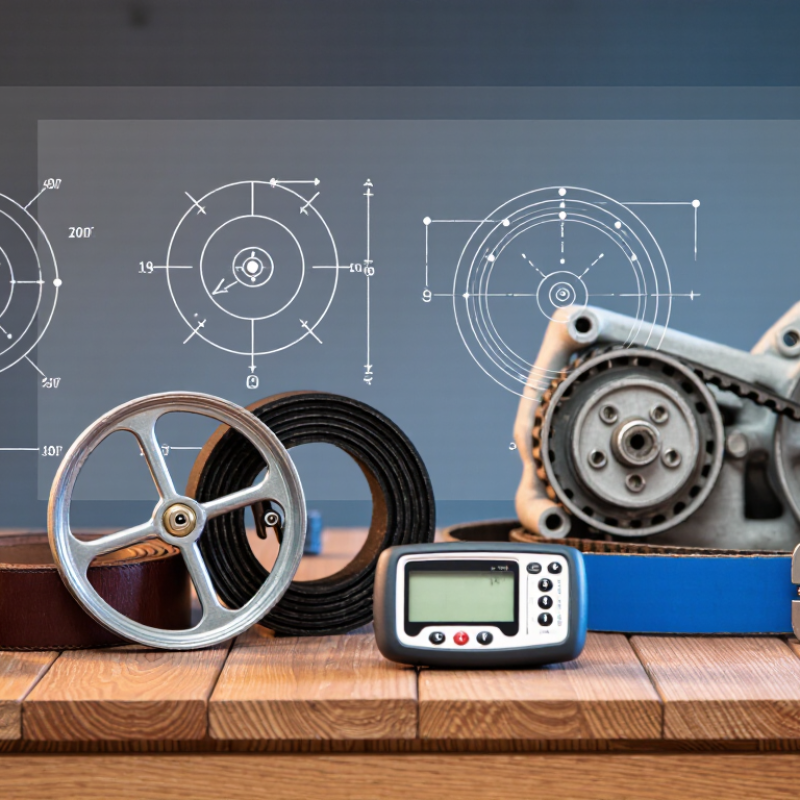
A belt measuring tool records the dimensions that determine fit and performance. For a clothing belt, it may measure the usable length from the buckle pin to the chosen hole, plus belt width and hole spacing. For a power-transmission belt, the relevant readings are usually length, width, thickness, and cross-section. Some tools also check tension by measuring deflection under a set force. These values are not interchangeable. A belt’s outside circumference, for example, may differ from its working or reference length.
For industrial V-belts, ISO 4184 specifies reference lengths and measurement conventions, helping users compare like with like. Tension matters, too: the U.S. Department of Energy’s 2003 motor-systems sourcebook notes that properly designed and maintained belt drives can reach roughly 95–98% efficiency. A ruler alone cannot verify tension. Use a dedicated gauge and follow the belt maker’s specified force and deflection, rather than guessing by feel. Small differences matter. Record the belt profile and measurement method with the result; otherwise, a precise-looking number can still lead to the wrong replacement. I’ve found this part easy to overlook.
What a Belt Measuring Tool Measures
This example shows the distance from the buckle pin to each adjustment hole on one belt. Hole positions are illustrative; measurements vary by belt.
A tape measure or ruler can measure buckle-pin-to-hole length, hole spacing, strap width, and strap length. A caliper can measure strap thickness and hole diameter.
Main Types of Belt Measuring Tools
Belt measuring tools generally fall into four groups: flexible length tapes, profile gauges, tension meters, and alignment tools. A flexible tape helps measure an installed belt’s outside circumference, but belt specifications may use a different reference length. For a removed belt, lay it flat without stretching it. Simple, but easy to misread.
Profile gauges check belt width and cross-section. Match the gauge to the belt’s shape; ISO 4183 specifies dimensions for classical and narrow V-belts, making profile identification more reliable than visual guessing. Tension meters measure force or vibration frequency. Force-deflection models need consistent pressure and span measurements, while sonic meters require a clear reading from a plucked belt. Neither corrects a poorly positioned sensor.
Alignment tools use straightedges or lasers to reveal pulley offset and angular error. They are useful when belts wear unevenly or slip, but alignment does not confirm correct tension. The U.S. Department of Energy’s 2014 motor-systems sourcebook estimates that motor systems use over 70% of U.S. industrial electricity; the International Energy Agency’s 2011 report estimates a 46% share of global electricity. These figures concern motor systems, not belt tools, but show why careful drive maintenance matters. A reading is not a verdict. Recheck after adjustment, and record the tool type and measured value; small setup errors can still distort the result.
Key Features to Compare in 2026
When comparing belt measuring tools in 2026, check the measurement range and the smallest marked increment. A tool that reads in both inches and millimeters reduces conversion errors, especially when a belt sits near a size boundary. Look for clear markings that remain readable under workshop lighting. Tiny print becomes frustrating fast.
The tool should suit the belt’s material and shape. A flexible tape can follow a curved or worn belt, while a rigid gauge may be easier to align consistently. Check whether the instructions specify measuring the full belt, its usable length, or the distance between particular points; these methods can produce different results. A practical test is to measure one belt twice, laying it flat without stretching it. The readings should be close. If they are not, technique or tool design may be affecting the result.
Durability matters, but a heavy metal body is not automatically better. Smooth edges help prevent damage to soft materials, and a firm lock can keep a tape from shifting mid-measurement. Check the zero point, too. I would still verify an unfamiliar tool against a ruler, because a small offset can change the fit. Calibration details are sometimes vague, and that deserves a closer look.
How to Measure a Belt Accurately
For most belts, a flexible tailor’s tape is the best tool for accurate measuring in 2026. It follows the belt’s shape without stretching the leather. A rigid ruler works too, but it can slip near the buckle. Lay your belt flat on a table, with the buckle closed. Measure from the point where the buckle pin rests to the hole you use most. Keep the tape straight and snug, not pulled tight. That measurement is more useful than the belt’s full end-to-end length.
No belt handy? Measure around your waist over the clothes you usually wear with it. Keep the tape level, breathe normally, and note the result without adding extra slack. Check the measurement twice. A small difference can matter when belt holes are spaced closely. Belt sizing methods vary, so compare your measurement with the seller’s size chart rather than assuming every label means the same thing. It is easy to rush this step. I’d also recheck after changing how the belt sits; posture and clothing thickness can shift the fit a little.
Choosing the Best Tool for Your Needs
Choosing the best belt measuring tool starts with how you will use it. For home sizing, a flexible, non-stretch tape is easy to wrap around your waist or an existing belt. For repeat work, a rigid ruler or marked sizing board can improve consistency. Check that the scale is clear, the zero point is intact, and the tape lies flat without twisting. Small details matter.
Measurement quality matters beyond comfort. The National Retail Federation’s 2024 Retail Returns report estimated that 16.9% of annual retail sales would be returned. That figure covers many product categories, not belts alone, but it highlights the cost of fit mistakes. For more reliable results, measure over the clothing you usually wear, keep the tape snug rather than tight, and repeat the reading. Use the same reference point each time.
A soft tape is practical, but it can stretch or sag with age. A rigid tool is less convenient around the body. There is no perfect choice. If you measure only occasionally, a sturdy flexible tape may be enough; frequent makers may prefer a fixed measuring surface. I would still question any reading that changes sharply between attempts. Recheck it.